Microscope Slide Window Tag

By Michele Aiello-Zendejas
Supply List:
- Micro Beads
- Size 6 Tags
- Microscope Slides
- Fibers
- O'So Sticky Tape
- Rubber Stamps
- Ink
- Decorative charm or button
- Foam Tape
- Paper Punch or Die Cutter


Directions:
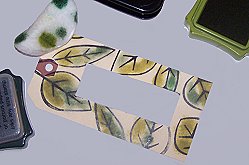
Step 1:
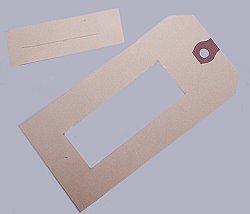
Using the microscope slide as a template, cut out the center of a tag.
Using the microscope slide as a template, cut out the center of a tag.
Step 2:
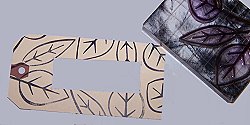
Stamp your image on the front and back of the tag.
Stamp your image on the front and back of the tag.
Step 3:
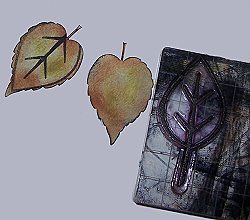
Color in your design. I used a cotton pad that I dabbed in ink to color in my leaves.
Color in your design. I used a cotton pad that I dabbed in ink to color in my leaves.
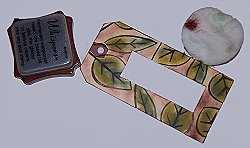
Step 4:
Fill in the background and distress the edges with more ink.
Fill in the background and distress the edges with more ink.
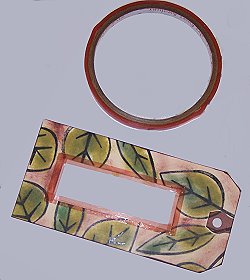
Step 5:
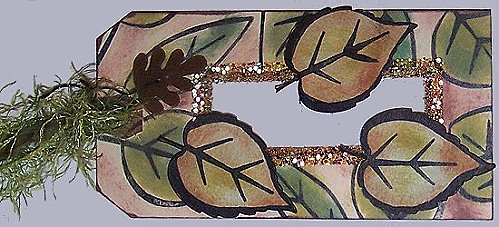
Place a microscope slide in the center of the cut out tag. Adhere the tape, halfway onto the tag and halfway onto the slide, all the way around the opening. I used 1/4" O'So Sticky Tape. Repeat on the other side. Then remove liner and cover exposed tape on both sides with micro beads. I used a combination of sizes in clear, black, copper, and brown.
Place a microscope slide in the center of the cut out tag. Adhere the tape, halfway onto the tag and halfway onto the slide, all the way around the opening. I used 1/4" O'So Sticky Tape. Repeat on the other side. Then remove liner and cover exposed tape on both sides with micro beads. I used a combination of sizes in clear, black, copper, and brown.
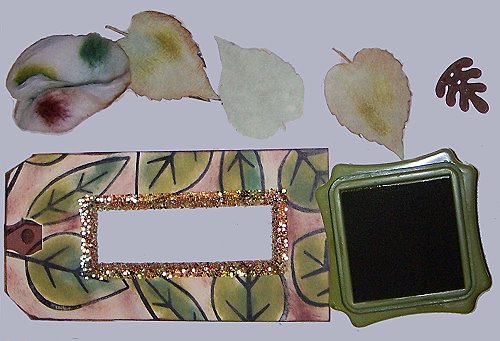
Step 6:
Punch or die cut a few embellishments and then color them with ink and a cotton pad.
Punch or die cut a few embellishments and then color them with ink and a cotton pad.
Step 7:
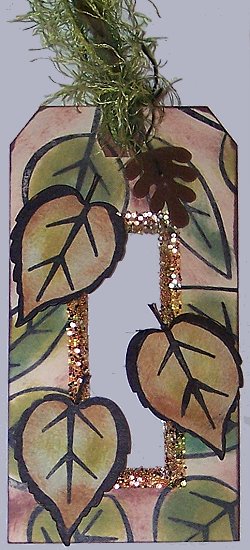
Stamp leaf image onto die cut leaves, color in areas as necessary with a felt tipped pen. Attach to tag with foam tape. Attach fiber to card and then attach charm to tag with fiber.
Stamp leaf image onto die cut leaves, color in areas as necessary with a felt tipped pen. Attach to tag with foam tape. Attach fiber to card and then attach charm to tag with fiber.