Clutch Card

By Kathi Hall
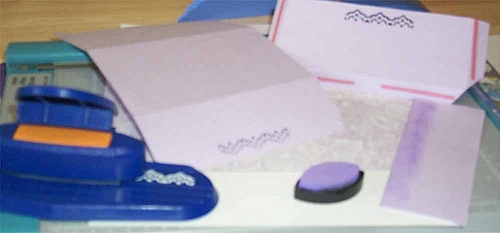
Supply List:
- 1 sheet 8.5 X 11 card stock
- 1/2 sheet coordinating stock or scrap pieces
- Bone Folder
- O'So Sticky Tape 1/4 inch or 1/2 inch
- Micro Beads
- Ribbon for embellishment
- Corner punch (optional)
- Decorative punch (optional)
- Decorative scissors (optional)
- Velcro tab for closure (optional)
- Other embellishments as you desire (buttons, stickers, ribbons, etc.)

Directions:
Step 1:
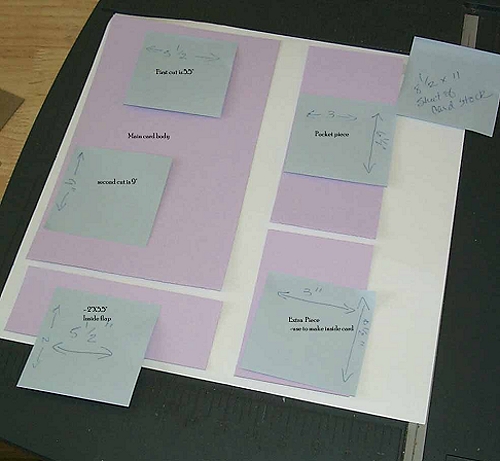
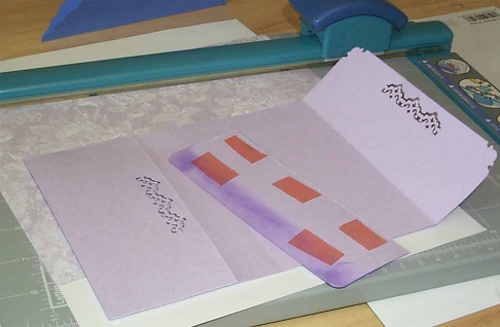
Cut cardstock - first cut measuring portrait and cutting at 5.5" Second cut is taking the left side piece and cutting at 9 inches down Third cut is taking right side piece and cutting at 6.5"
This leaves you with 4 pieces:
1 ea 5.5" x 9" for main card body
1 ea 5.5" x 2" for inside flap
1 ea 3" x 6.5" for inside pocket
1 ea 3" x 4.5" extra piece that you can use for card to slip in pocket

Step 2:
Score 3.5 from one end and 2 from the other leaving a 3 inch center.
Score 3.5 from one end and 2 from the other leaving a 3 inch center.
Step 3:
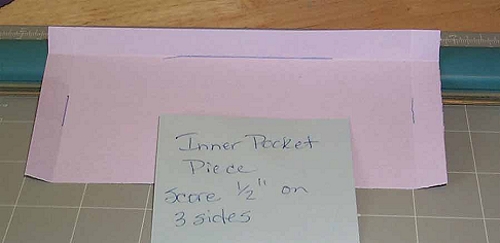
Using inside pocket piece (6.5" x 3") score and fold toward inside 1/2" on 3 sides
Using inside pocket piece (6.5" x 3") score and fold toward inside 1/2" on 3 sides
Step 4:
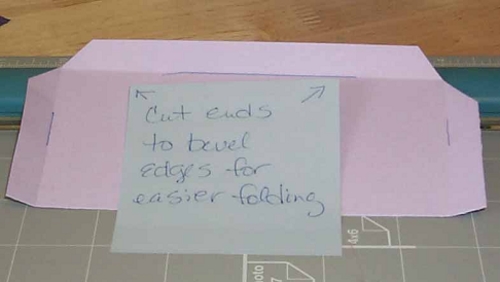
Cut 2 corners of the folded edges to create a beveled edge so folded piece will lay flat
Cut 2 corners of the folded edges to create a beveled edge so folded piece will lay flat
Step 5:
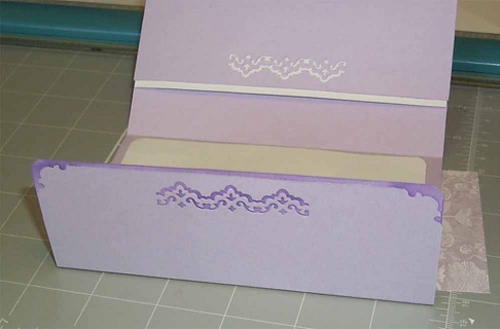
Pocket piece from outside of pocket - Affix O'So Sticky tape to outside edges so when folded tape is outside to affix to card.
Punch pocket piece in center before affixing to main body of card.
Affix pocket piece to inside main body on the larger flap end.
Optional: Punch main body card at corners and then at center as desired (could add edge of O'So tape for beads at flap edge)
For class example - Inside flap piece - shade edge (will show at corners and through punch areas of main body card) or affix thin O'So tape along edge and apply precious PWA beads.
Note: You can use any contrasting papers like shiny gold or silver or any of your choice at corners and behind punched areas BUT use the inside flap piece on the inside (of main body) to cover the back of the contrasting paper pieces so it gives a finished look (same paper as main body card when inside card is showing)
Step 6:
Affix inside flap cover piece to inside flap of main body card ( you can use your O'So tape pieces you have saved from previous projects).
Affix inside flap cover piece to inside flap of main body card ( you can use your O'So tape pieces you have saved from previous projects).
Step 7:
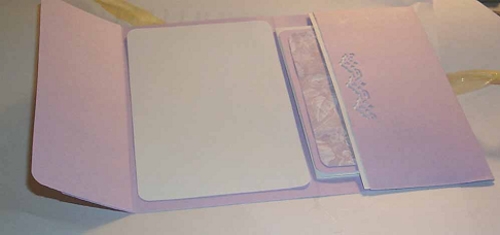
Using contrasting papers or materials as desired add to card - for instance affix to inside center a contrasting piece that you can stamp on or add a post-it pad or just stamp directly on main body card as you wish.
Using contrasting papers or materials as desired add to card - for instance affix to inside center a contrasting piece that you can stamp on or add a post-it pad or just stamp directly on main body card as you wish.
Step 8:
You can create a card to slip in pocket using extra piece of card stock.
You can create a card to slip in pocket using extra piece of card stock.
Step 9:
Embellish as you wish - add beaded stamped images - bead edges of outside main body flap.
- You can affix Velcro tab on inside flap so it has a nifty closure
- Add a pretty ribbon and gems!
- Add stamped images and beads to inside or even a post-it pad!
Embellish as you wish - add beaded stamped images - bead edges of outside main body flap.
- You can affix Velcro tab on inside flap so it has a nifty closure
- Add a pretty ribbon and gems!
- Add stamped images and beads to inside or even a post-it pad!
NOTES:
Use this card for gift cards at holiday time - as an invitation, announcement for wedding or shower - as a notepad holder with the pocket to hold business cards.
It can be dual purpose with a use after a greeting card since it has that nifty little inside pocket but the center part can hold a pad of paper or picture.
If you want to make it a mailer - mail as one card and envy in one - do not embellish the outside and make sure all flap edges are glued as well as sides - use round sticky labels to close open sides, too.
Note - I have used larger pieces of cardstock and papers 11" x 17" to create larger cards but this is a great size! Wonderful size for holiday gift cards for tree or as a gift in itself.
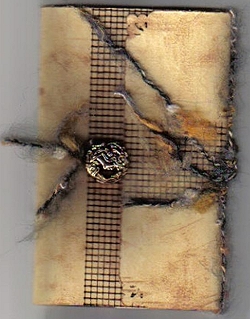
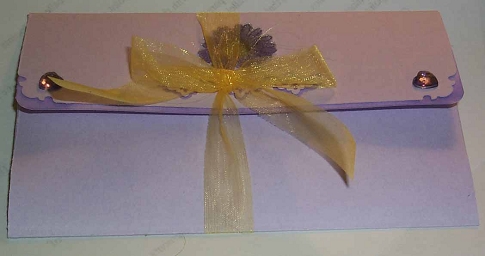
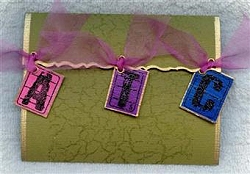
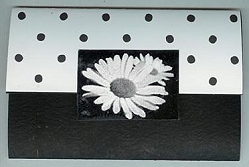
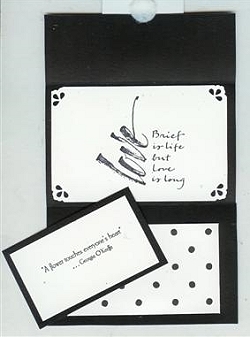
Examples
Jean Marchand
Jean Marchand
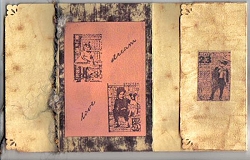
Evelyn Spikes
Evelyn Spikes
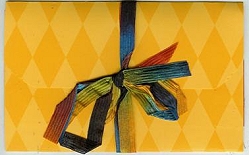
Bridget Larsen

Bridget Larsen
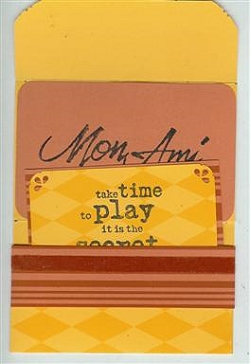
Evelyn Spikes
Evelyn Spikes