Beaded Pin

By Julie Poe
Supply List:
- Rubber stamp with image that is small enough to work for a pin and pleasing to you
- 1 piece of matt board, cut to desired size based on image that will be used allowing for a small clear area around stamped image (my preference is 2 in. X 2 1/2 in., but you should have it square or rectangle shape between 1 1/2 in. and 3 in. each way)
- 2 pieces of white matte cardstock, cut to same size as matt board
- Ink, recommend black
- Preferred coloring tools (pencils, chalks, markers, ink, etc.)
- O'So Sticky Tape sheet size (cut a 3 pieces the same size as the matt board/cardstock)
- O'So Sticky Tape 1/2 in. or 1/4 in. wide roll
- Clear micro beads
- Colored micro beads (solid color or multi-color mix), coordinate based on stamp design-theme/colors that will be used in coloring in the stamped image
- Pin back
- Adhesive for pin back, if needed (recommend E-6000)

Directions:
NOTE:
Note before we begin: I will be referring to the front, back and sides of the piece. The front means the part of the pin that people will look at when finished. The back means the part of the pin that the pin back will be adhered to, the part of the piece that will face your clothing.
The sides are the thin edges going around the pin including the thickness of space between the front and the back of the piece. Hope that is clear enough to all. Now let's get started!!
Step 1:
Using smallest cardstock piece, stamp and color in image as desired. Trim edges and corners as desired also. Set aside.
Step 2:
Remove liner from 1 side of 1 piece of O'So, line up and apply to front of cardstock piece right over the stamped image, burnish the tape well to eliminate any air pockets.
Remove O'So liner from the top and dip piece into clear micro beads, pressing them in and smoothing them until you have total coverage with no open spots and excess micro beads are removed. See how pretty it already looks!
Step 3:
Remove liner from another piece of O'So, line up and apply to back of beaded cardstock piece.
Remove the O'So liner, line up and apply the matt board to the back of the piece.
Step 4:
Now to begin taping the sides of the pin with a roll of O'So - Start near a corner (preferably on the bottom of the pin) and heading away from that corner place the tape perpendicular to the sides of the matt board / beaded cardstock.
a. If you are using 1/4 inch O'So - line up one edge of the tape flush along the back edge of the side of the matt board piece. The other edge will stand up beyond the side of the front of the lip of the matt board piece.
b. If you are using 1/2 inch O'So - line up the the tape so the edge of the matt board piece is centered along the tape. The edges of the tape will stand up beyond the front and back of the edge of the matt board piece.
Continue wrapping the tape along the sides of the pin, easing around 3 of the corners (you'll take care of them later) and smoothing with your finger at the same time to get good tape adhesion to the matt board piece edges.
As you approach the 4th corner and the beginning of where you started wrapping the tape, cut off the tape with a tail long enough to finish wrapping with slight overlapping BUT do not smooth down the tail yet, let it hang.
Step 5:
Holding the matt board piece between your thumb and forefinger so you are holding the front and back of pin begin pinching and folding over the sides of the tape that are overhanging as described in Step 4 a & b, starting where you began wrapping, be sure the tail is still hanging.
Corners should be folded over "hospital-style", don't worry about folding tape over tape that still has the liner on it (the liner will still pull up easily). Also don't worry about not having sharp corners (you will be able to shape them up when applying the micro beads).
Now start removing the liner from the tape starting where you began wrapping. As you approach corners continue to remove liner in a smooth tug.
When you get to the tail now you can work it around the corner and press it down over the exposed tape and finish removing the liner.
Note: If you used 1/2 inch tape and the back of the pin now has unlined O'So Sticky Tape framing the piece, line up and apply the 3rd cardstock piece to the back for a nice finished back of your jewelry piece.
Step 6:
Still holding the matt board piece between your thumb and forefinger so you are holding the front and back of pin, dip each of the sides into your colored micro beads.
Now is the time to square the corners using your fingers to pinch them sharp. Continue re-dipping and pressing in the beads, smoothing them until you have total coverage with no open spots and excess micro beads are removed. It is so gorgeous but you are not done yet!
Step 7:
Remove liner from the 3rd piece of O'So, line up and apply to back of beaded pin. Remove the O'So liner, line up and apply the other piece of cardstock to the back of the piece for a nice finished back to your jewelry piece (if you used 1/4 in. O'So).
Glue your pin back on the back of the piece. Be sure it is centered horizontally and slightly toward the upper edge.
Be sure to sign the back of your artwork and get ready for lots of compliments as you wear your beaded pin proudly!
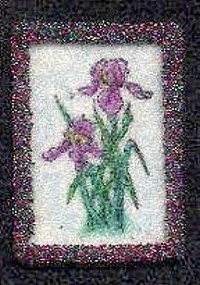
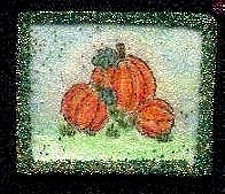
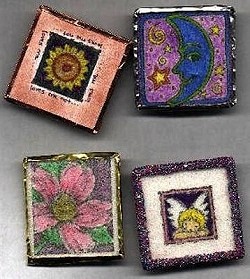
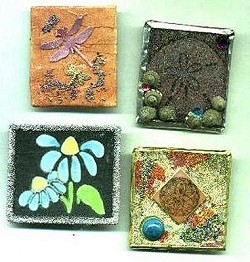
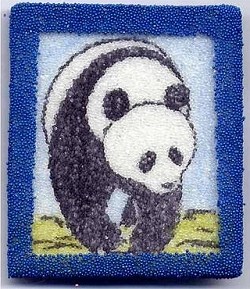
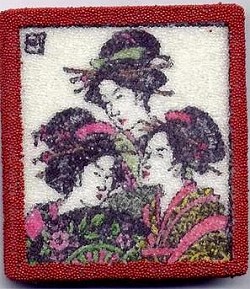
Examples

Barb
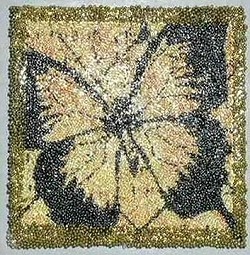
Butterfly
Julie Poe
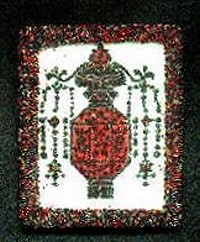
Cassie

Georgia
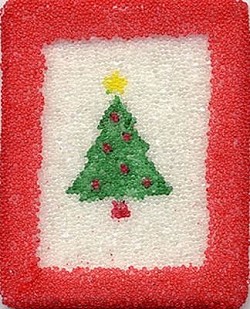
Julie
Suzanne
Suzanne
Marion
Marion