Beaded Napkin Card

By Georgia Wood
Supply List:
- Decorative 2 or 3 ply paper napkins, luncheon or dinner size. Floral or a design/style you like
- Roll of clear plastic wrap, any brand
- Several sheets of white tissue paper
- Cardstock, white or a color to compliment your napkins, cut and folded to card size
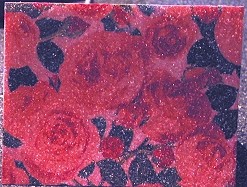
- Pennywise Arts brand micro beads, clear unless you want to intensify a napkin color
- For this project you will also need your iron and ironing board. The iron will be used NO steam, so you might want to empty the water prior to class


Directions:
Step 1:
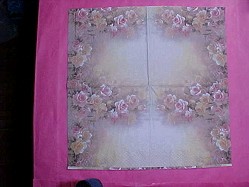
Open and press your decorative napkin. Your ironing board can be your 'work station' for this project.
Open and press your decorative napkin. Your ironing board can be your 'work station' for this project.
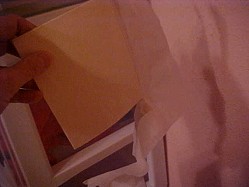
Step 2:
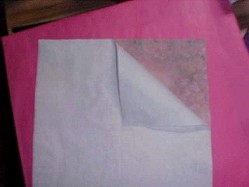
Peel away the extra layers of the napkin, you will only use the decorative layer on the card. You can use the excess layers to protect your ironing board.
Peel away the extra layers of the napkin, you will only use the decorative layer on the card. You can use the excess layers to protect your ironing board.
Step 3:
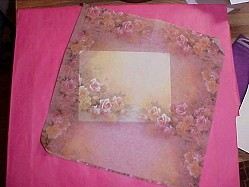
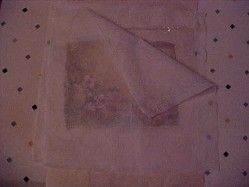
Place your blank folded card on the piece of tissue paper. Lay the napkin over the card and move it around until you find a positioning that pleases you.
Place your blank folded card on the piece of tissue paper. Lay the napkin over the card and move it around until you find a positioning that pleases you.
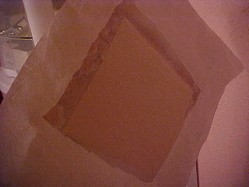
Step 4:
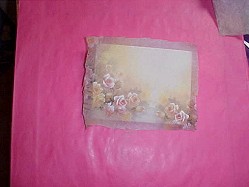
Trim the napkin but make sure there is enough 'margin' to allow for slippage. As you can 'rough trim' the napkin, it is not necessary to pick it up. You can do the trimming with it laying in position on your folded cardstock.
Trim the napkin but make sure there is enough 'margin' to allow for slippage. As you can 'rough trim' the napkin, it is not necessary to pick it up. You can do the trimming with it laying in position on your folded cardstock.

Step 5:
Place a piece of plastic wrap between the napkin and the card.
Place a piece of plastic wrap between the napkin and the card.
Step 6:
Lay a piece of tissue paper over the napkin. I used the excess layers of the napkin as tissue paper.
Lay a piece of tissue paper over the napkin. I used the excess layers of the napkin as tissue paper.
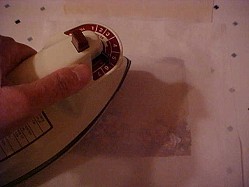
Step 7:
Press firmly on the iron. You want the heat to go through the protective tissue paper, the decorative napkin layer, and fuse the plastic wrap to both the decorative napkin and the card.
Press firmly on the iron. You want the heat to go through the protective tissue paper, the decorative napkin layer, and fuse the plastic wrap to both the decorative napkin and the card.
Step 8:
Pressing over, let it set a minute before handling.
Pressing over, let it set a minute before handling.
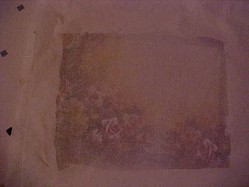
Step 9:
Now that it's cool and bonded, you can pick the entire unit up for trimming.
Now that it's cool and bonded, you can pick the entire unit up for trimming.
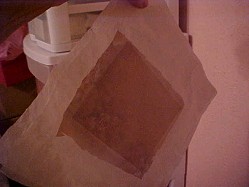
Step 10:
Turn the unit over so you will be looking at the back of the card while trimming.
Turn the unit over so you will be looking at the back of the card while trimming.
Step 11:
Trim all the excess layers at one time, following the edge of the back side of the folded card. Use scissors that do not have any tape or other residue gummed to them! You will be removing 4 excess layers of material at one time.
Trim all the excess layers at one time, following the edge of the back side of the folded card. Use scissors that do not have any tape or other residue gummed to them! You will be removing 4 excess layers of material at one time.
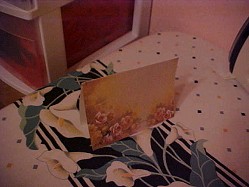
Step 12:
Your basic card is now finished. On to beading it!
Your basic card is now finished. On to beading it!
Step 13:
Stamp a sentiment if desired.
Stamp a sentiment if desired.
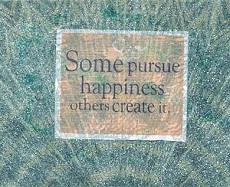
Technique:
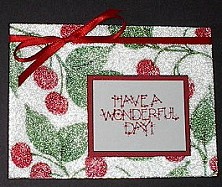
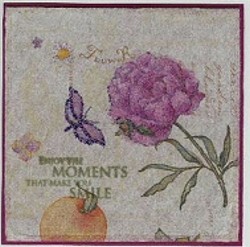
For the Beaded Cherry card that was created by Suzanne Glazier: Cover the entire card front with O'So Sticky Tape from and peel off the top liner. Add the stamped sentiment bordered in red paper and then press the entire card face down into clear micro bead. Complete with a red ribbon and bow!
For the Beaded Cherry card that was created by Suzanne Glazier: Cover the entire card front with O'So Sticky Tape from and peel off the top liner. Add the stamped sentiment bordered in red paper and then press the entire card face down into clear micro bead. Complete with a red ribbon and bow!
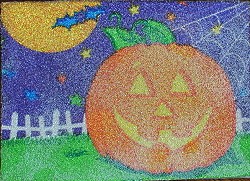
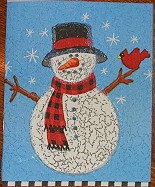
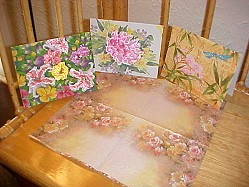
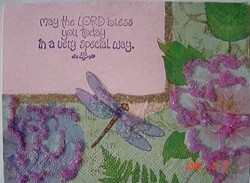
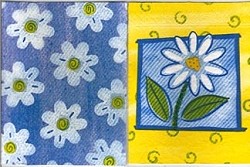
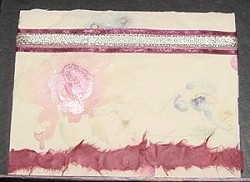
Examples

Darlene
Evelyn
Diane
Diane
Georgia
Glenna
Janeen
Jean
Kim

Kim

Pam
.jpg)
Diane