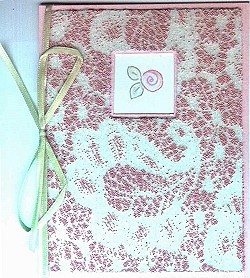
Beaded Lace Cards

By Julie Poe
Supply List:
- Cardstock: 1 pc - 5 1/2" x 8 1/2" (card base, folded in half)
- 1 pc - 5 1/4" x 4" (background layer)
- 1 pc - 5" x 3 3/4" (beaded lace layer)
- 1 pc - approx. 2" - 2 1/2" square, rectangle, heart or oval sized to fit stamped image
- O'So Sticky tape - sheet cut 5" x 3 3/4"
- Micro beads - 2 coordinating colors with some contrast (my example uses Black & Lavender Opaques)
- Lace - pc of fabric lace at least as big as card front
- Rubber stamps - small images in Valentine theme to fit on the smallest cardstock piece
- Ink/Coloring implements - your choice for stamping/coloring your Valentine image(s)


Directions:
Step 1:
Using smallest cardstock piece, stamp and color in image as desired. Trim edges and corners as desired also. Set aside.
Step 2:
Remove liner backing from tape sheet. Carefully line up and adhere to the cardstock piece that has been cut the same size (here it is the 5" x 3 3/4" pc). Burnish the tape well, especially at the edges and corners in order have good adhesion.
Step 3:
Now remove the top liner from the tape sheet that is already adhered to the cardstock. Carefully place your stamped cardstock piece in the desired place on top of the tape. Remember, once you place it you cannot remove it to made adjustments!
Step 4:
Take your piece of fabric lace and place over the taped cardstock. Smooth it out well especially at the edges. If you need to adjust the lace at this point, simply lift up and re-place. Take care that your lace is smooth over the entire piece even though it isn't sticking to the stamped cardstock piece.
Step 5:
Place the lace-d cardstock into your beading tray/box and pour 1 color of the micro beads over. Smoosh them into the lace, see how they stick to the "open" parts of the lace. I like to rub them in using a circular motion with my index finger. Notice you have an "air" pocket of beads accumulating where the stamped cardstock is. Now shake off the excess micro beads, make sure to get those extras that accumulated in that pocket. Return the excess to your bead bag/jar.
Step 6:
Starting at a corner, peel up the lace off the cardstock. It is normal that some micro beads will pop off. It depends on how closely spaced the lace pattern is for how many will pop off.
Step 7:
Place cardstock back into beading tray/box and pour the other color micro beads over the entire piece. Smoosh them into the tape and notice how they fill in any sticky areas. Once again I like to rub the beads in using a circular motion with my index finger. I keep doing this until I no longer feel any sticky areas. And again shake off the excess micro beads and return the extras.
Step 8:
Tack down the piece to the 5 1/4" x 4" cardstock layer and then tack down all this to your card front. Add any embellishments as desired such as ribbon or charms using a strong glue.
Notes from Julie:
One of the interesting choices you have in making your lace is deciding which color goes first and second. The theory is you are supposed to do the darkest color first followed by the lightest color. Why, you wonder? It has to do with where some of those stray beads fill in during the second beading.
The Light followed by Dark will show less errors than Dark followed by Light application. However I find that I often prefer the look of the lace pattern when it is Dark followed by Light.
For extra fun, try 2 small cardstock pieces with the same lace and same 2 colors and try them out side by side to see which you like best. Hmmmm... using both pieces on the same card could be an interesting Positive/Negative look!!!
You can use any kind of fabric lace for this or even crocheted doilies! Fabric does not stick permanently to the tape like paper and cardstock does.
This same technique can be done with glitter or embossing powder (heat only after both colors are applied), or even a mix. I've done a glitter and micro bead lace card with great results.
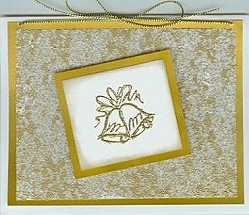
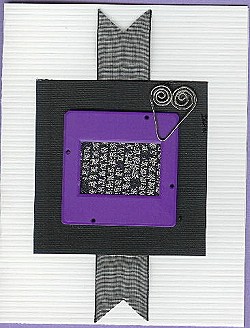
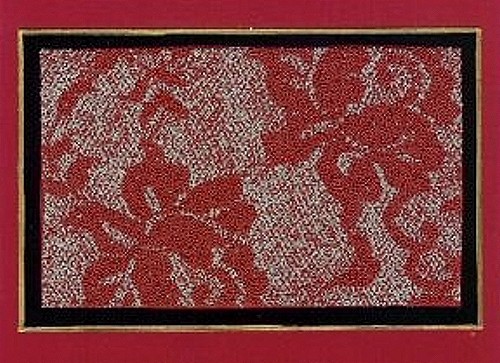
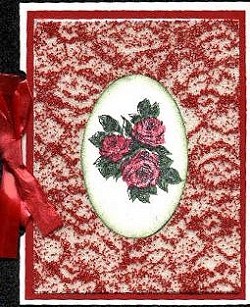
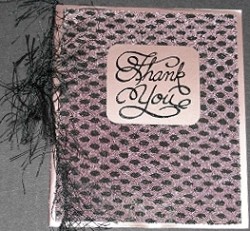
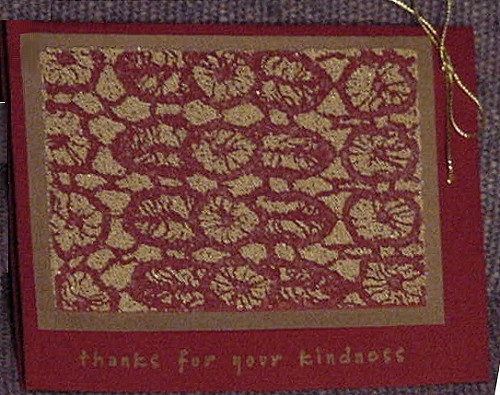
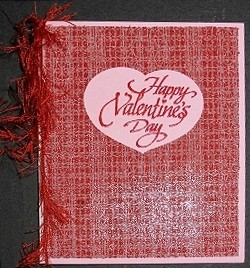
Examples
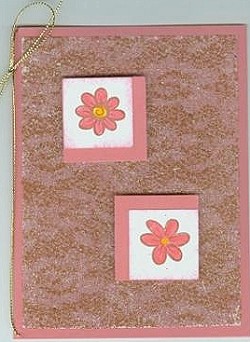
Connie
Connie

Suzanne

Erin

Evelyn
Evelyn
Teri
Julie

Kelly
Linda

Linda
Lisa
Sue
Suzanne