Beaded Cuttlebug Embossing

By Julie Imsland
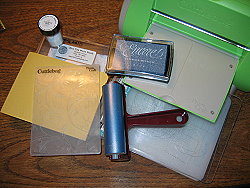
Supply List:
- Cardstock
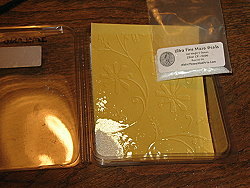
- Pennywise Arts Clear Ultra fine Micro beads
- Pennywise Arts O'So Sticky Powder
- Soft Rubber Brayer
- Encore Pigment Ink
- Cuttlebug Embossing Folder
- Cuttlebug
- Heat Tool
- Anti Static Embossing Buddy
- Small paint brush
- Post It Notes
- Creation of this technique was inspired by Julie Buhler's Cuttlebug Ink Embossing.


Directions:
Before you begin:
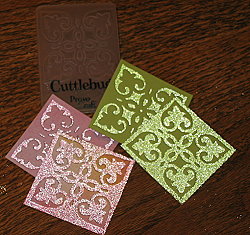
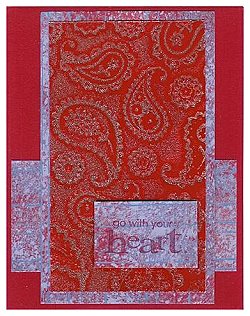
Carefully look at the embossing folder and decide which part of the impression you wish to bead. Look at the example of the heart medallion from the Fancy Corners set… you can choose to bead either the hearts themselves, or the background surrounding the hearts. The part of the embossing folder to be inked will be the side with the raised impression that you've chosen to bead. (It may seem a little backwards; because the raised portion will actually become the recessed portion once you've embossed the cardstock.)
It's a bit easier to bead the background of the designs, because there is usually more flat surface area and it's easier to ink. If you choose to bead the design area, you may find it easiest to place masks around the design area while inking.
Once you've decided which portion of the design you want to bead you're ready to begin.
Step 1:
Optional: Tap embossing buddy onto cardstock to reduce static on paper surface.
Optional: Tap embossing buddy onto cardstock to reduce static on paper surface.
Step 2:
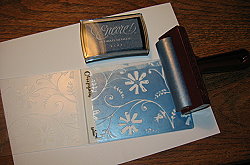
Apply ink to embossing folder.
A. For large background areas: Roll brayer over ink pad until it is inked well.
Lay opened embossing folder on scrap paper and using brayer, completely ink desired design area. **Note: you will only apply ink to portions of one side of the embossing folder.
B. For smaller design areas: Mask around design area with Post It notes. Use brayer to apply ink to design area.
Step 3:
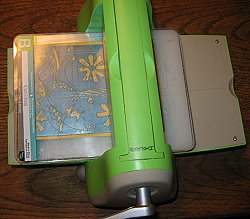
Place cardstock into embossing folder with the front side facing the inked portion of the folder. Close the embossing folder and emboss as usual in your Cuttlebug.
Turn the handle slowly and roll it through once and then without removing the stack of pads, embossing folder and spacer, reverse the direction you turn the handle and roll it back through the Cuttlebug again.
Step 4:
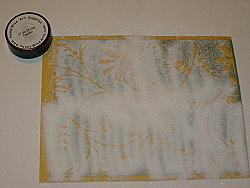
Carefully remove the inked/embossed cardstock from the folder, and sprinkle generously with O'So Sticky Powder. Tap off excess and return to jar.
Use a small brush if necessary to remove any stray specks of powder.
Carefully remove the inked/embossed cardstock from the folder, and sprinkle generously with O'So Sticky Powder. Tap off excess and return to jar.
Use a small brush if necessary to remove any stray specks of powder.
Step 5:
Heat (as you would embossing powder), just until the powder melts and turns shiny in appearance. This will activate the Sticky Powder. (You may find it is easiest to hold the cardstock with tweezers for this step.)
Heat (as you would embossing powder), just until the powder melts and turns shiny in appearance. This will activate the Sticky Powder. (You may find it is easiest to hold the cardstock with tweezers for this step.)
Step 6:
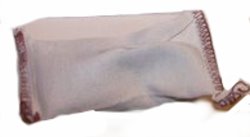
Lay the cardstock face down into a shallow tray of ultra fine micro beads. Gently press over the backside of the cardstock.
Gently lift the cardstock from the tray, allowing loose beads to fall into tray.
Lay the cardstock face down into a shallow tray of ultra fine micro beads. Gently press over the backside of the cardstock.
Gently lift the cardstock from the tray, allowing loose beads to fall into tray.
Step 7:
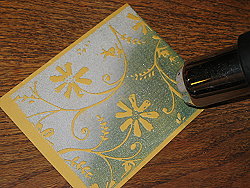
Heat the image once more (about 5-10 seconds to) "set" the micro beads into the Sticky Powder). Allow cardstock to cool before touching. Gently brush any remaining loose beads from the image into the tray.
Clean embossing folders and brayer.
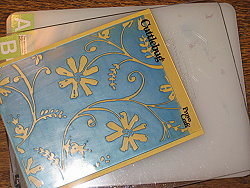
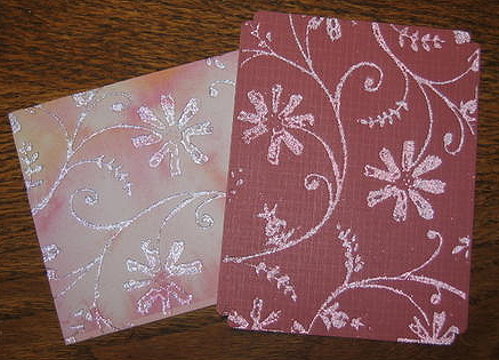
Once cooled, you should be able to touch the beaded image and the beads will remain perfectly adhered.
Heat the image once more (about 5-10 seconds to) "set" the micro beads into the Sticky Powder). Allow cardstock to cool before touching. Gently brush any remaining loose beads from the image into the tray.
Clean embossing folders and brayer.
Once cooled, you should be able to touch the beaded image and the beads will remain perfectly adhered.
Note:
Remember that inks and cardstock combinations may respond differently. O'So Sticky Powder is like embossing powder and in the same way, before heating may "hold" onto some ink/paper combinations better than others. I suggest testing this technique with a small piece of your desired cardstock and ink before working on something larger. You may also want to experiment with other pigment inks, embossing inks, and VersaMark along with various papers (coated, printed, textured or smooth).
Remember that inks and cardstock combinations may respond differently. O'So Sticky Powder is like embossing powder and in the same way, before heating may "hold" onto some ink/paper combinations better than others. I suggest testing this technique with a small piece of your desired cardstock and ink before working on something larger. You may also want to experiment with other pigment inks, embossing inks, and VersaMark along with various papers (coated, printed, textured or smooth).
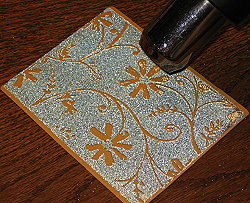
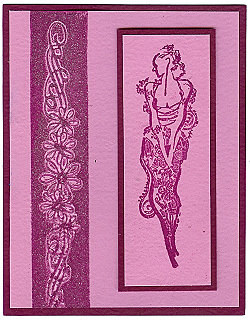
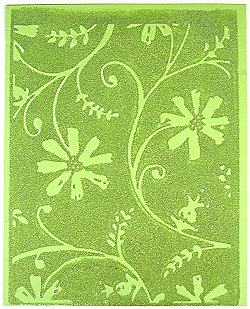
Technique:
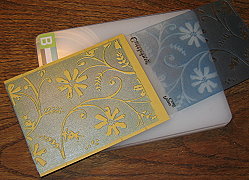
Silver Encore ink and the Stylized Flowers embossing folder were used. The ink was carefully brayered onto the raised flowers side of the folder (which after embossing, is the negative, recessed portion of the design).
Silver Encore ink and the Stylized Flowers embossing folder were used. The ink was carefully brayered onto the raised flowers side of the folder (which after embossing, is the negative, recessed portion of the design).
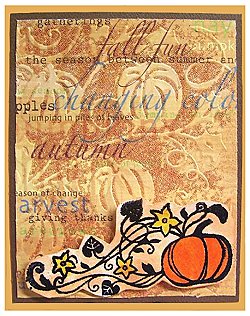
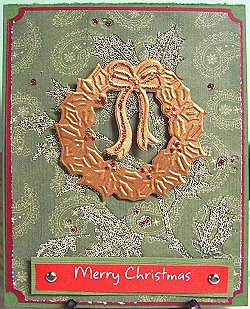
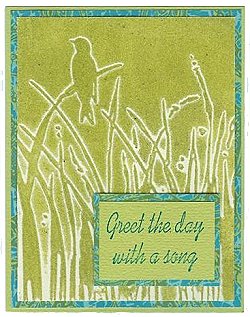
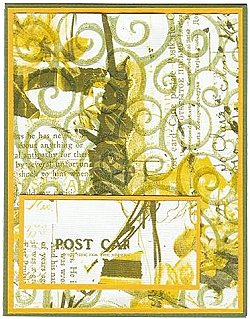
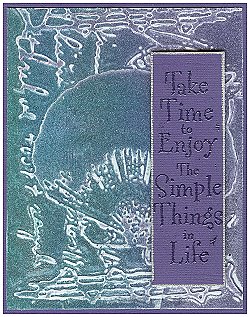
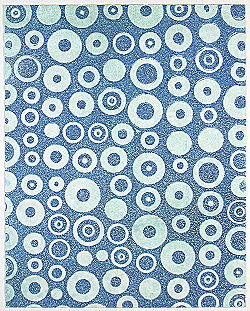
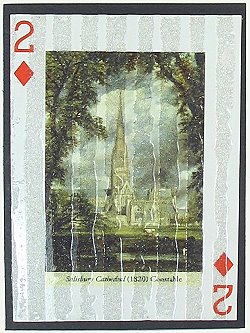
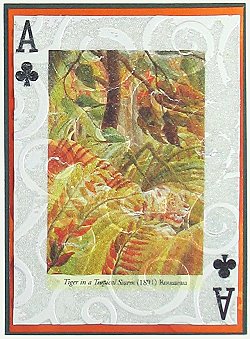
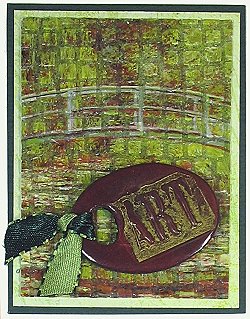
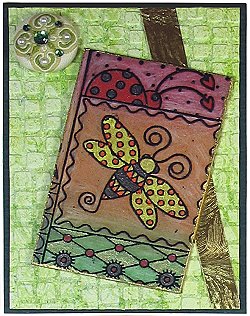
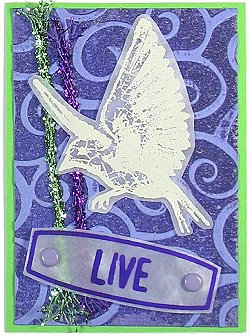
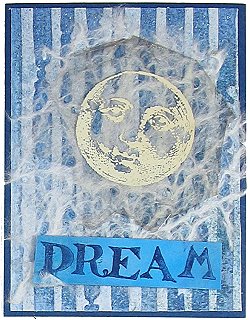
Examples
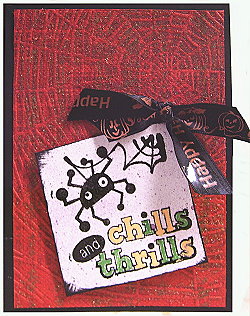
Beth Ullman
Beth Ullman
Beth Ullman
Evelyn Spikes
Evelyn Spikes
Evelyn Spikes
Evelyn Spikes
Evelyn Spikes

Julie Imsland
Julie Imsland
Julie Imsland
Yvonne Grimes
Yvonne Grimes
Yvonne Grimes
Yvonne Grimes
Yvonne Grimes
Yvonne Grimes
Yvonne Grimes